


Laminate furniture is everywhere: flat-pack dressers, bookcases, nightstands and desks with a smooth, plastic-like surface printed to look like wood. It is sturdy and affordable, but after a few years the color can look dated or the top gets scuffed. Painting it is a cheap way to give the piece a second life. The catch is that laminate is slick and non-porous, so regular paint brushed straight on tends to peel off in sheets the first time something scrapes it.
This guide walks you through the whole process: how to tell what surface you are dealing with, which primer and paint to choose, how to prep without damaging the thin top layer, how to apply each coat, and how long to wait before you use the piece. Follow the steps in order and the finish will hold up to daily use.
First, confirm what you are painting
Before you buy supplies, take a close look at the piece. Three surfaces often get mixed up, and each one needs slightly different handling:
- Laminate: a thin printed layer of plastic or resin-coated paper glued over particleboard or MDF. The “grain” repeats in a perfect pattern, and the edges often have a separate strip of edge banding.
- Wood veneer: a real slice of wood glued over a core. The grain is irregular, and you can see actual wood fibers when you look at a chipped edge.
- Solid wood: the grain continues around corners and onto the end of the board.
A quick test: find a hidden spot and lightly drag a fingernail across it. Laminate feels hard and glassy, and a drop of water beads up on top. If you are working on veneer or solid wood instead, the process is easier, and a regular sanding approach works.
If the piece is old and has an existing paint layer you plan to sand, keep in mind that homes and furniture painted before 1978 may contain lead-based paint. The EPA explains why disturbing it calls for special precautions on its lead renovation, repair and painting page. Most laminate pieces are newer and unpainted, but it is worth checking before you start sanding anything that has been painted before.
What you need
Gathering everything in advance keeps you from rushing between coats. For a typical dresser or nightstand you will need:
- A degreasing cleaner (a mild dish soap solution works for light grime) and lint-free rags
- 220-grit sandpaper or a fine sanding sponge
- A tack cloth or a damp microfiber cloth to remove dust
- A bonding primer made for glossy or slick surfaces (shellac-based or a “bonding” acrylic primer)
- Paint: a quality acrylic enamel or cabinet-and-trim paint in satin or semi-gloss
- A water-based clear topcoat if your paint does not already have a hard finish
- A small foam roller for flat areas and a good synthetic brush for edges
- Wood filler or two-part epoxy putty for chips and dings
- Painter’s tape, drop cloth and a screwdriver to remove hardware
Read the labels on the primer and paint you choose, because drying and recoat times vary a lot between products. Those times on the can matter more than any general rule.
Step 1: Remove hardware and clean thoroughly
Take off knobs, pulls and hinges, and drop the screws into a labeled bag. If the drawers come out, remove them and paint them separately; you will get cleaner edges.
Cleaning is the step people skip, and it is the most common reason paint fails on laminate. Kitchen and bedroom furniture builds up a film of hand oils, polish and dust that keeps primer from sticking. Wash every surface with your degreasing solution, rinse with a cloth dampened in clean water, and let it dry completely. If water still beads in certain spots after cleaning, there is residue left, so wash those areas again.
Step 2: Repair chips and peeling edges
Look for lifted edge banding, swollen corners and chips. Painting over these defects makes them stand out more, not less.
- For loose edge banding, slide a thin layer of wood glue or contact cement underneath, press it down and hold it with painter’s tape until it sets.
- For chips in the laminate, fill with wood filler or epoxy putty, let it cure fully, and sand it flush.
- For corners where the particleboard has swollen from water, sand off loose crumbs, seal the area with a thin coat of primer, then fill and sand smooth.
Take your time here. Ten extra minutes of repair work saves you from a finish that looks lumpy under a glossy coat.
Step 3: Scuff sand, do not strip
Laminate is thin, so the goal is not to remove it. You only want to dull the shine and create tiny scratches the primer can grab. Go over every surface lightly with 220-grit paper or a sanding sponge until the gloss turns matte. Use light, even pressure and avoid lingering on edges and corners, where you can break through the top layer quickly.
When you are done, vacuum the dust and wipe everything with a tack cloth or a barely damp microfiber cloth. Any dust left behind will show up as bumps in the paint.
Step 4: Prime with a bonding primer
The primer is what makes this project work. A bonding primer is formulated to stick to slick surfaces, and the paint then sticks to the primer. Apply one thin, even coat with the foam roller on flat areas and the brush on edges and details. Thin coats dry harder and level better than thick ones, which tend to sag and stay soft.
Many shellac-based and solvent-based primers give off strong fumes. Work in a well-ventilated space, open windows or work outside in mild weather, and follow the safety directions on the can. The EPA notes that paints and finishes are a common source of volatile organic compounds indoors, and that ventilation during and after use helps reduce exposure.
Before you paint, run the scratch test: once the primer is dry according to the label, press a piece of painter’s tape onto a hidden spot and pull it off quickly. If primer comes off with the tape, the surface was not clean or scuffed enough. It is far better to find that out now than after two coats of color.
Step 5: Paint in thin coats
Lightly sand the primed surface with a very fine sanding sponge to knock down any texture, then wipe off the dust. Now apply your first coat of paint:
- Roll flat surfaces in long strokes in one direction, overlapping each pass slightly.
- Brush edges and profiles first, then roll the flat areas right away so the edges blend in.
- Do not go back over areas that have started to dry; that is what leaves roller marks.
- Let each coat dry for the recoat time on the label, scuff lightly between coats, and wipe clean.
Two coats are usually enough for even color. A dark piece going to white may need a third. Paint the drawer fronts flat on a table if you can, because horizontal surfaces level out better than vertical ones.
Step 6: Seal and let it cure
If you used a cabinet or enamel paint that dries to a hard finish, a topcoat is optional. On high-wear surfaces such as dresser tops, desks and coffee tables, a water-based clear topcoat in two thin coats adds protection against scratches and rings. Choose a non-yellowing formula if your paint is white or a light color.
Here is the part most people get wrong: dry is not the same as cured. Paint can feel dry to the touch in an hour and still be soft underneath for days or weeks. Reattach the hardware once the finish is firm, but treat the piece gently at first. Avoid placing heavy objects, lamps or decor on top, and use felt pads under anything you set down. Check the paint label for the full cure time.
Common mistakes to avoid
- Skipping primer: even paints that claim “no primer needed” struggle on glossy laminate.
- Sanding through the laminate: aggressive sanding exposes the particleboard, which soaks up paint and swells.
- Thick coats: they drip, stay soft and are more likely to peel.
- Painting in a cold or humid space: the finish takes much longer to dry and can stay tacky.
- Using the piece too soon: fresh paint on a drawer edge will stick to the frame and tear.
Summary
Painting laminate furniture comes down to adhesion. Confirm the surface is laminate, clean away every trace of grease, repair chips and loose edges, then scuff sand lightly without breaking through the thin top layer. A bonding primer is the key step, followed by two or three thin coats of a durable enamel or cabinet paint and, for busy surfaces, a clear topcoat. Work with good ventilation, respect the drying and cure times on the label, and your updated dresser or desk will look fresh and stay that way for years.
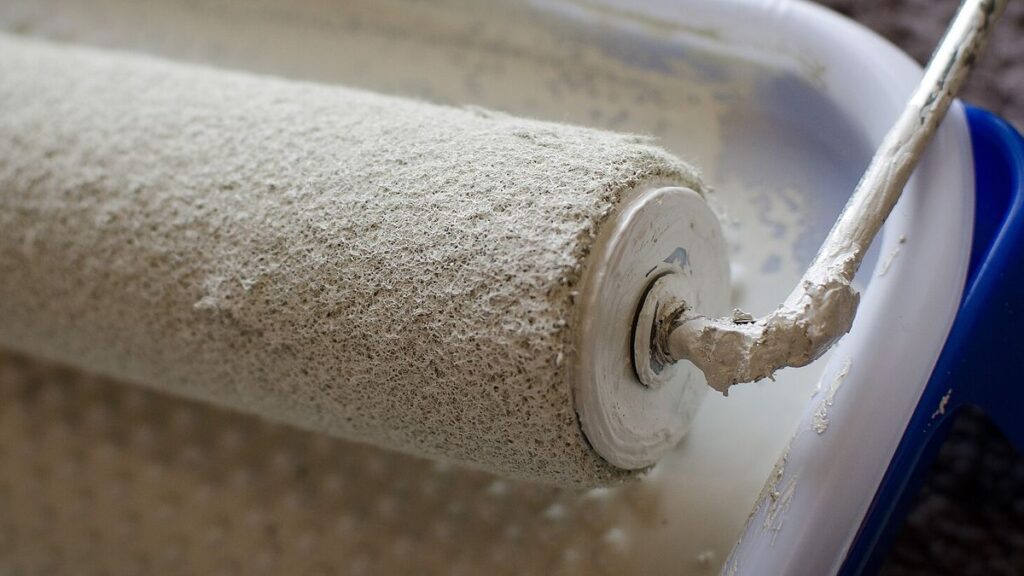
Photo: Paint-roller (23956075297), by r. nial bradshaw, license CC BY 2.0, via Wikimedia Commons. Cropped.