


Did you know that millions of pieces of metal hardware are thrown away every year? This adds to the waste problem.
But, with a bit of effort, we can make these pieces shine like new. This not only cuts down on waste but also saves us money.
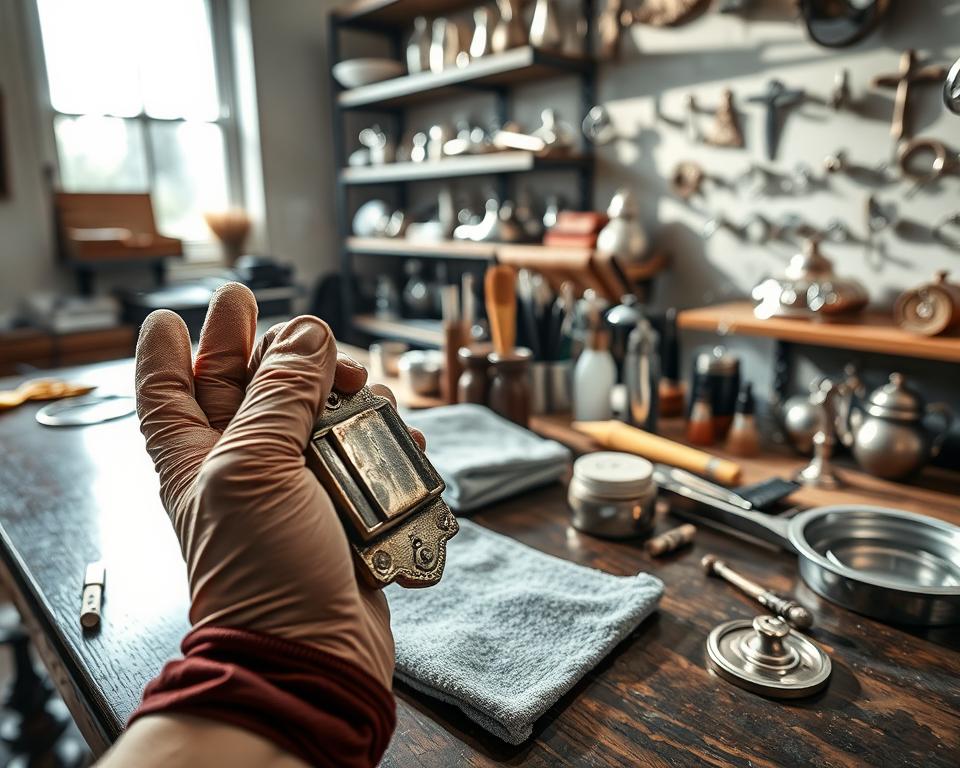
Restoring metal hardware is a fun DIY project. By using the right methods, you can make your metal hardware look brand new again.
Key Takeaways
- Understand the importance of restoring metal hardware.
- Learn the step-by-step process of metal hardware restoration.
- Discover the benefits of DIY restoration projects.
- Identify the right techniques for polishing metal hardware.
- Gain confidence in tackling your metal hardware restoration projects.
Understanding the Importance of Restoring Metal Hardware
Metal hardware restoration is key to keeping hardware in top shape. It makes metal hardware look new again and keeps it working well.
Why Restore Instead of Replace?
Choosing to restore metal hardware saves money. New hardware can be pricey, and custom pieces are even more so. Restoration also keeps the original look and feel of the hardware.
This is very important for old or historically significant items. It helps keep their value and charm.
Restoring hardware also saves time and hassle. Installing new hardware can be a big job, needing professional help.
The Environmental Benefits
Restoring metal hardware is good for the planet. Making new hardware uses a lot of resources and energy. This harms the environment and increases carbon emissions.
Restoration cuts down on the need for new materials. It also reduces waste by making old hardware last longer. This is a big step towards saving our planet.
Reducing waste is a major goal for environmental care. Restoring metal hardware is a smart way to do this. It also means less metal waste in landfills, supporting green practices.
Materials and Tools Needed for Restoration
Restoring metal hardware to its original shine requires the right tools and cleaning solutions. Before you start, know what you need to do the job well.
Essential Tools for the Job
You’ll need various tools to begin your restoration. Here are the basics:
- Soft-bristled brushes for gently removing dirt and grime.
- Wire brushes for more stubborn grime and rust.
- Polishing cloths for buffing and polishing.
- Screwdrivers and wrenches for disassembling hardware if necessary.
The right tools make the job easier and protect your metal hardware.
Recommended Cleaning Solutions
The cleaning solution you choose depends on the metal type and grime level. Here are some good options:
- Mild soap and water for general cleaning.
- Vinegar or lemon juice for tackling rust and corrosion.
- Baking soda paste for removing stubborn grime.
- Commercial metal cleaners for specific types of metal.
Choosing the right cleaner is key to avoid damaging the metal. Always test a small area first.
With the right tools and cleaning solutions, you’re ready to restore your metal hardware effectively.
Assessing the Condition of Your Metal Hardware
Checking the condition of metal hardware is key to finding the right restoration method. This first check helps figure out how much damage there is and what steps are needed to fix it.

Identifying Rust and Corrosion
The first thing to do is spot any rust or corrosion. Rust happens when iron or steel reacts with oxygen and moisture. Look for:
- Orange or reddish-brown flakes or spots
- Weakened or brittle areas on the metal surface
- A rough texture or pitting on the surface
Corrosion looks different on different metals. For example, copper turns green when corroded, and aluminum might show white or gray patches.
Checking for Structural Integrity
After spotting surface damage, check if the metal hardware is strong. Look for any signs of weakening or damage that could make it not work right. Check:
- Mounting points and attachment areas
- Moving parts, such as hinges or joints
- Load-bearing components
By carefully checking your metal hardware, you can make a plan to fix it. This plan will tackle specific problems, making the restoration successful and lasting.
Step-by-Step Guide to Cleaning Metal Hardware
Cleaning metal hardware is key to restoring it. The right cleaning techniques are essential. They remove dirt and prepare the surface for more restoration.
Preparing the Surface
Start by preparing the metal hardware surface. Remove loose debris or dirt first. Use a soft-bristled brush to gently sweep away loose particles.
Surface Preparation Steps:
- Inspect the hardware for loose debris.
- Gently brush away any loose particles with a soft-bristled brush.
- Dampen a cloth with water and wipe down the hardware to remove any remaining dirt.
Techniques for Effective Cleaning
The cleaning method depends on the metal type and grime level. A mild soap and water mix works well for most hardware.
For tougher grime or corrosion, a specialized cleaning solution might be needed. Always test a small area first to avoid damage.
| Cleaning Method | Metal Type | Effectiveness |
|---|---|---|
| Mild Soap and Water | Most Metals | High |
| Vinegar Solution | Copper, Brass | Medium |
| Baking Soda Paste | Steel, Iron | High |
After cleaning, dry the hardware well to avoid water spots or corrosion. Applying a metal polish or sealant can add extra protection.
By following these steps and choosing the right cleaning techniques, you can restore your metal hardware to its original shine.
Removing Rust from Metal Hardware
Removing rust from metal hardware is a big challenge. Rust can weaken the metal and harm its structure. It’s important to fix this problem quickly.
Types of Rust Removal Methods
There are many ways to remove rust from metal hardware. Each method has its own benefits. Here are some common ones:
- Chemical Rust Removal: Using chemicals like CLR or phosphoric acid to dissolve rust.
- Mechanical Rust Removal: Using tools like wire brushes, sandpaper, or grinders to remove rust physically.
- Electrochemical Rust Removal: Using electrolysis to remove rust, which works well for detailed or delicate items.
The right method depends on the rust damage and the metal type. For example, electrochemical rust removal is great for preserving the original surface of old items.
Safety Precautions During Rust Removal
When removing rust, safety comes first. Here are important steps to follow:
- Wear Protective Gear: Always wear gloves, safety glasses, and a mask to protect yourself from chemicals and debris.
- Work in a Well-Ventilated Area: Make sure the area is well-ventilated to avoid inhaling chemical fumes.
- Follow Instructions: Read and follow the instructions on any cleaning or rust removal products carefully.
By following these steps, you can safely restore your metal hardware. Remember, patience and detail are key to successful restoration.
Polishing Techniques for a Brilliant Finish
To finish restoring your metal hardware, learning polishing techniques is key. A polished finish not only looks better but also guards against future damage.
Exploring metal hardware refurbishment, I’ve seen how the right polish can change everything. Let’s look at some common polishing products and DIY methods for a stunning finish.
Common Polishing Products
Many polishing products are out there, each for different metals. Here are a few you’ll often find:
- Metal polishes with mild abrasives to remove tarnish and dirt
- Polishing cloths with chemicals to buff the metal
- Rotary polishers for tougher polishing jobs
A top metal restoration expert says, “Choosing the right polish is critical for your metal type.”
“The right polishing technique can elevate the entire restoration process, making the metal hardware look like new again.”
DIY Polishing Methods
If you like doing things yourself, DIY polishing can work well. Here are some methods to try:
- Making a paste from baking soda and water to polish the metal
- Using a soft cloth and circular motions to buff the metal
- Using a drill with a polishing attachment for detailed or hard-to-reach spots
Always test any polish or method on a small, hidden area first to avoid damage.
Seeing your metal hardware shine like new is incredibly fulfilling. With the right polish and techniques, you can get a finish that lasts.

Protecting Restored Hardware from Future Damage
After you’ve made your metal hardware look new again, it’s important to protect it. This step keeps your hard work from being undone by neglect or poor care.
Importance of Sealing Metal
Sealing metal stops rust and corrosion. When metal meets air and moisture, it starts to rust. A sealant acts as a shield, keeping the metal safe.
Benefits of Sealing: Sealing doesn’t just protect the metal. It also makes it look better and easier to clean. Sealed metal is less likely to stain or corrode.
Recommended Protective Coatings
There are many protective coatings out there, each with its own perks. The right one depends on the metal type and how you plan to use it.
| Coating Type | Best For | Benefits |
|---|---|---|
| Clear Wax | Decorative hardware | Easy to apply, enhances shine |
| Polyurethane | High-traffic areas | Durable, resistant to wear |
| Ceramic Coating | Outdoor hardware | Weather-resistant, long-lasting |
Choosing the right protective coating can make your metal hardware last longer. Think about what your hardware needs when picking a coating.
In summary, keeping your metal hardware in good shape is key. By understanding the need to seal metal and picking the right coatings, you can keep it looking and working great for years.
Restoring Hardware on Different Metals
Restoring metal hardware is an art that requires understanding different metals. It’s not a one-size-fits-all job. Each metal needs its own approach for the best results. Exploring metal restoration shows that each type has its own challenges and opportunities.
Knowing the metal type is key when restoring hardware. This knowledge helps choose the right cleaning solutions and techniques. I’ll look at specific methods for copper, brass, and steel hardware.
Copper vs. Brass Restoration
Copper and brass are popular for their looks and durability. But, they need different restoration methods. Copper, being softer, requires gentler methods. A famous restorer says, “Copper restoration is an art that needs patience and a delicate touch.”
Brass, being harder than copper, needs care to avoid scratches. Use a mild cleaner and a soft cloth to remove tarnish. For brass restoration tips, check Fine Homebuilding.
Steel Restoration Techniques
Steel is strong and versatile, often used in hardware. Restoring steel requires different techniques than copper or brass. First, remove rust or corrosion with a rust remover or wire brush.
After cleaning, apply a rust-inhibiting coating to protect the steel. For complex designs, use a rust remover that reaches tight spaces. Finish with a clear coat or wax to keep the steel looking good. As “restoration is not just about fixing the old, but also about preserving the integrity of the material.”
Restoring Antique Metal Hardware
Restoring antique metal hardware needs a careful look at its state and a thoughtful plan for keeping it safe. I know how important it is to keep these historical items in good shape.

When working with old metal hardware, knowing the materials and methods used back then is key. This knowledge helps pick the right ways to fix it.
Special Considerations for Vintage Pieces
Fixing old metal hardware needs a soft touch to not make it worse. First, figure out what metal it is and its state before you start fixing it. Pieces with detailed designs or engravings need extra care to keep their details.
Choosing the right cleaning solutions is important. Harsh chemicals can harm the metal or remove its patina, which is a big part of its history. Instead, use mild cleaners that fit the metal type.
Tips for Maintaining Historical Value
To keep the historical value of old metal hardware, document its condition before, during, and after fixing it. This can include photos and detailed notes about the fixing process.
Also, try to keep the original parts and materials as much as you can. If you need to replace something, choose materials that are very similar to the originals.
By following these tips, you can fix your antique metal hardware and keep its historical importance.
Creative Ideas for Reusing Restored Hardware
Once your metal hardware is restored, you can think of many creative ways to use it. Not only does it regain its shine, but it also gets a new life in various projects.
Upcycling Projects to Consider
Upcycling your restored metal hardware can lead to unique and useful items for your home. For example, old door handles can become creative wall hooks or rustic coat racks. You can also turn hinges into custom picture frames or vintage-inspired mirrors.
Here are some more upcycling ideas:
- Make wind chimes or key-shaped magnets from old keys
- Use restored latches as drawer pulls or cabinet handles
- Change metal hardware into garden markers or plant labels
Decorative Applications for Your Hardware
Restored metal hardware can also enhance your home’s decor. It can be used as decorative accents on furniture, walls, or as centerpieces. For instance, a restored door knocker can be a stunning wall decoration. Old hinges can form a unique geometric pattern on a wall or furniture.
Here are some decorative ideas:
- Make a metal hardware collage on a wall or in a shadow box
- Use restored hardware as bookends or paperweights
- Include metal hardware in mixed-media art projects or DIY crafts
Being creative with your restored metal hardware can reduce waste and add a personal touch to your space. Whether you upcycle or decorate with it, your work will surely spark conversations.
Common Mistakes to Avoid When Restoring Metal
Restoring metal hardware needs the right techniques, materials, and patience. I’ve learned that avoiding common mistakes is key to success.
Understanding the pitfalls in metal hardware refurbishment is critical. Knowing these issues helps you avoid them. This ensures your project is done well and efficiently.
Pitfalls in the Cleaning Process
Cleaning is a vital step in restoring metal hardware. But, mistakes can damage the metal or make it dull. Using the wrong cleaning solution can cause discoloration or damage.
Always choose a cleaning product that matches the metal type you’re working with. Using abrasive materials can scratch or wear away the metal. Instead, use soft cloths and gentle cleaning products.
Overlooking Protective Measures
After restoring metal hardware, applying protective measures is key. This includes using a sealant or coating to prevent rust and corrosion. Neglecting this step can cause the metal to deteriorate over time.
By following the best practices for restoring metal hardware, you can avoid common mistakes. This ensures your project’s success. Whether it’s antique or modern hardware, doing it right will give you a beautiful finish that lasts.
Conclusion: Enjoying Your Restored Metal Hardware
Finishing a metal hardware restoration project is very rewarding. It makes vintage metal hardware shine like new again. It also gives it a fresh start.
Learning to refinish metal hardware teaches patience and detail. Whether it’s old door handles or furniture hardware, the outcome is always worth it.
The Joy of Restoration
Seeing a project from start to finish is fulfilling. With the right tools and skills, anyone can get amazing results.
Sharing Your Success
I suggest sharing your restoration stories online. This can inspire others to work on their own projects. It helps keep vintage metal hardware beautiful for more years.